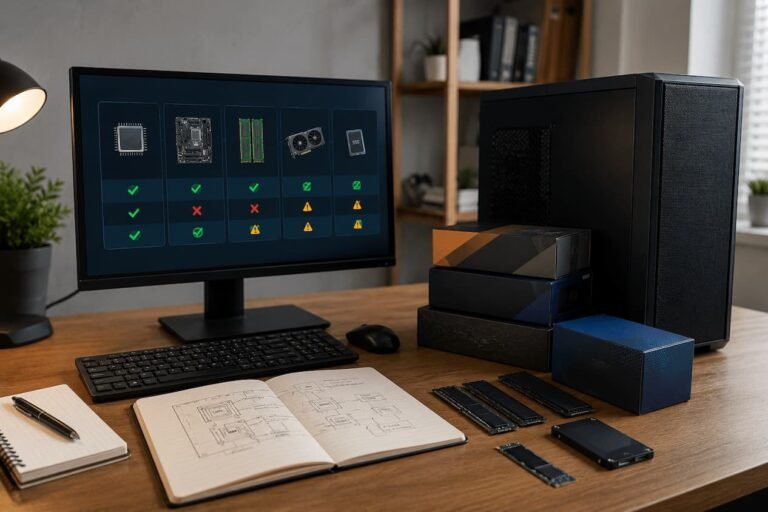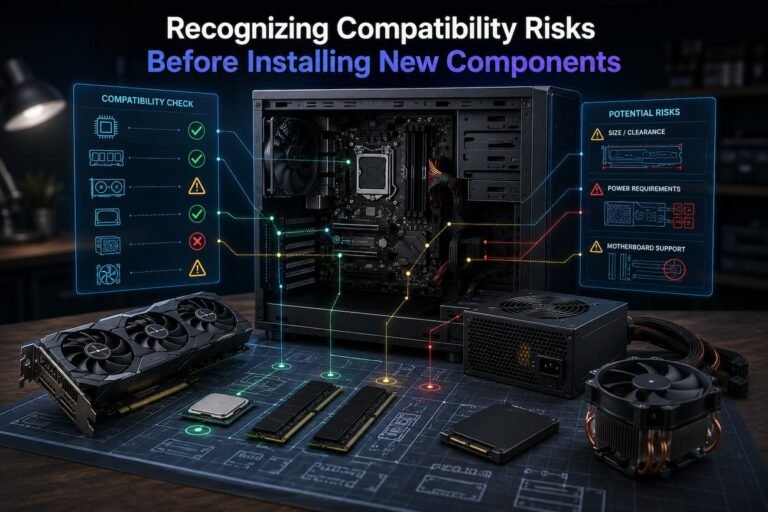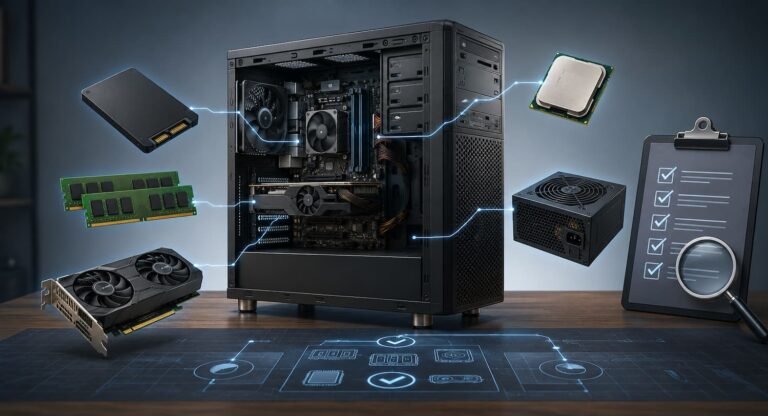
You may not need to buy a new computer for these features. While many existing computers are configured to meet the requirements, certain security features in the firmware may be disabled. Some computers may require adjustments to the BIOS or UEFI configuration for Windows to correctly recognize the device. However, some older systems simply cannot run the software if the processor is not on Microsoft’s support list. Thoroughly check your computer before upgrading. Take a moment to check compatibility. This can prevent failed installation attempts and help you decide whether upgrading your existing computer or buying a new one is the wisest choice.
Start With Microsoft’s Official Compatibility Check
The simplest place to begin is Microsoft’s own compatibility checking tool. Microsoft provides the PC Health Check application, which can assess whether a Windows 10 PC meets the requirements for Windows 11. The tool is useful because it checks several requirements together rather than asking you to inspect every specification manually. If your PC is reported as incompatible, however, do not immediately assume that the computer is too old. The result may point towards a specific requirement that needs attention.
What the Compatibility Check Can Tell You
- Whether the processor meets Microsoft’s supported requirements.
- Whether the computer has sufficient RAM.
- Whether enough storage is available.
- Whether TPM 2.0 is present and available for Windows.
- Whether Secure Boot capability is available.
- Whether the system meets other basic Windows 11 requirements.
Use the official Microsoft tool as your starting point rather than relying on an unfamiliar third-party compatibility website. It is designed specifically to evaluate Windows 11 eligibility.
Check Your Processor
The processor is one of the most important compatibility factors. Having a fast processor does not automatically mean that it is officially supported. Windows 11 has specific processor requirements, including supported processor families and generations. This is where some older computers encounter problems. A PC may have a perfectly usable processor for browsing, office work, and media consumption but still fall outside Microsoft’s official Windows 11 supported CPU list.
How to Find Your Processor
Press Windows Key + R, type msinfo32, and press Enter. The System Information window will display the processor model. You can then compare the exact model against Microsoft’s current Windows 11 requirements. You can also find processor information by opening Settings and navigating to the system information page, depending on your current Windows version. Do not rely solely on the processor’s advertised clock speed. Compatibility is based on the specific processor model and Microsoft’s supported hardware requirements.
Confirm You Have Enough RAM
Windows 11 requires at least 4 GB of RAM. That is the official minimum, but minimum requirements should not be confused with an ideal everyday configuration. A PC with 4 GB may technically meet the requirement but can feel limited when running multiple browser tabs, video calls, office applications, and other programs at the same time. If your existing computer has 8 GB or more, the experience is generally more comfortable for ordinary workloads, assuming the rest of the hardware is suitable.
Check Your Installed Memory
Open Settings, select System, and look at the device information to see how much RAM is installed. You can also open Task Manager and select the Performance section to view memory usage. Before upgrading RAM, check whether your motherboard supports additional memory and whether compatible modules are available. On some older laptops, memory may be soldered and impossible to upgrade.
Check Available Storage
Windows 11 requires at least 64 GB of storage capacity. This requirement refers to the size of the storage device, not simply how much free space is available at the moment. Even when a PC technically meets this requirement, you should check how much free space remains. Windows updates, temporary files, applications, and personal data all require additional room. A system drive that is almost full can create performance and update problems.
Things to Check Before Upgrading
- Confirm the total capacity of the system drive.
- Check how much free space is currently available.
- Remove unnecessary files before beginning the upgrade.
- Back up important documents and personal data.
- Consider replacing an ageing mechanical drive with an SSD if your hardware supports it.
Storage capacity and storage health are two different issues. A drive can have plenty of free space and still be unreliable. If the computer’s existing drive shows signs of failure, resolve that problem before upgrading the operating system.
Check for TPM 2.0
TPM 2.0 is one of the requirements that surprises many owners of older PCs. The Trusted Platform Module is a security technology that can provide hardware-based protection for sensitive security functions. Some computers already have TPM 2.0 support but have it disabled in the firmware. This means a PC can appear incompatible even though the necessary technology is physically available.
How to Check TPM in Windows
Press Windows Key + R, type tpm.msc, and press Enter. The resulting window can show whether Windows detects a TPM and which specification version is available. If no compatible TPM is detected, check your motherboard or computer manufacturer’s documentation. On some systems, the feature may be controlled through a firmware setting with a name related to TPM, Intel Platform Trust Technology, or AMD firmware TPM. Do not change firmware settings randomly. If you are unsure which option applies to your computer, consult the manufacturer’s official documentation before making changes.
Make Sure Secure Boot Is Supported
Secure Boot is another Windows 11 requirement that can cause compatibility confusion. It is a security feature designed to help ensure that the system starts using trusted boot software. Many relatively modern computers support Secure Boot, but it may not be enabled. Older computers may also be configured to use legacy BIOS compatibility modes rather than modern UEFI firmware settings.
Check Secure Boot Status
Press Windows Key + R, type msinfo32, and press Enter. In System Information, look for the Secure Boot State entry. If Secure Boot is disabled, the computer may still support it. However, enabling Secure Boot can require changes to the system’s boot configuration. This is an area where caution is important because changing firmware or boot settings incorrectly can prevent Windows from starting. Back up your important data before changing firmware settings. If you are not comfortable working in UEFI settings, consult your PC or motherboard manufacturer’s instructions or ask a qualified technician for assistance.
Check Whether Your PC Uses UEFI
Windows 11 compatibility is closely connected with modern firmware configurations. Older systems may use legacy BIOS modes, while newer computers generally use UEFI. You can check the current configuration through System Information. Look for the BIOS Mode entry. If it shows UEFI, your system is already using the modern firmware mode. If it shows Legacy, additional preparation may be necessary before enabling features such as Secure Boot.
Do not simply switch a system from Legacy to UEFI without preparation. The way Windows is installed and how the storage drive is partitioned can affect whether the operating system will boot after the change. If your system uses an older configuration, research the correct conversion process for your specific PC before changing anything. Make a full backup first.
Check Your Graphics Compatibility
Windows 11 requires graphics hardware that supports DirectX 12 or later with a compatible WDDM 2.0 driver. Most relatively recent computers meet this requirement, but very old systems may not. You can check your graphics hardware using the DirectX Diagnostic Tool. Press Windows Key + R, type dxdiag, and press Enter.
Look at the display information to identify the graphics hardware and driver details. If you are unsure whether the hardware meets Microsoft’s requirements, check the graphics manufacturer’s official specifications. Remember that compatibility and performance are separate questions. A computer may technically support Windows 11 while still delivering a poor experience with demanding applications because of an older processor, limited memory, or weak graphics hardware.
Review Your PC’s Age and Overall Condition
Meeting the minimum requirements does not automatically make an upgrade worthwhile. Consider the condition of the entire computer before spending money on upgrades.
Ask Yourself These Questions
- Is the computer currently stable?
- Does the storage drive show any signs of failure?
- Does the system overheat?
- Is the battery still reliable if it is a laptop?
- Can the RAM be upgraded?
- Is the processor officially supported?
- Does the manufacturer provide current drivers and firmware?
- Will the computer still meet your needs for the next few years?
An older PC with a healthy SSD, adequate RAM, supported processor, and modern firmware may be a good candidate for Windows 11. A computer with an ageing hard drive, failing battery, overheating problems, and unsupported hardware may not be worth investing in simply to meet the requirements.
Do Not Ignore Driver and Firmware Support
Compatibility is not only about whether Windows 11 can be installed. You also want the computer to work reliably afterward. Visit the manufacturer’s official support page and look for Windows 11 drivers, BIOS updates, and firmware information for your exact model. This is particularly important for laptops and pre-built desktop computers because manufacturers sometimes provide model-specific software. Check support for important components such as:
- Chipset
- Graphics
- Wi-Fi and Bluetooth
- Audio
- Storage controllers
- Touchpad and keyboard on laptops
- Webcams and other integrated devices
A PC that technically meets Microsoft’s requirements but has poor driver support may not provide the smoothest upgrade experience.
Back Up Before You Upgrade
Even when a computer passes every compatibility check, create a backup before beginning the upgrade. An operating system upgrade is normally designed to preserve your files, but no major system change should be performed without protecting important data.
Back up documents, photographs, work files, browser data, and anything else that would be difficult to replace. If possible, maintain a backup that is separate from the computer itself. Also make sure you know how to access your important accounts after the upgrade. Keep recovery information available and confirm that you can access essential services without relying entirely on the computer being upgraded.
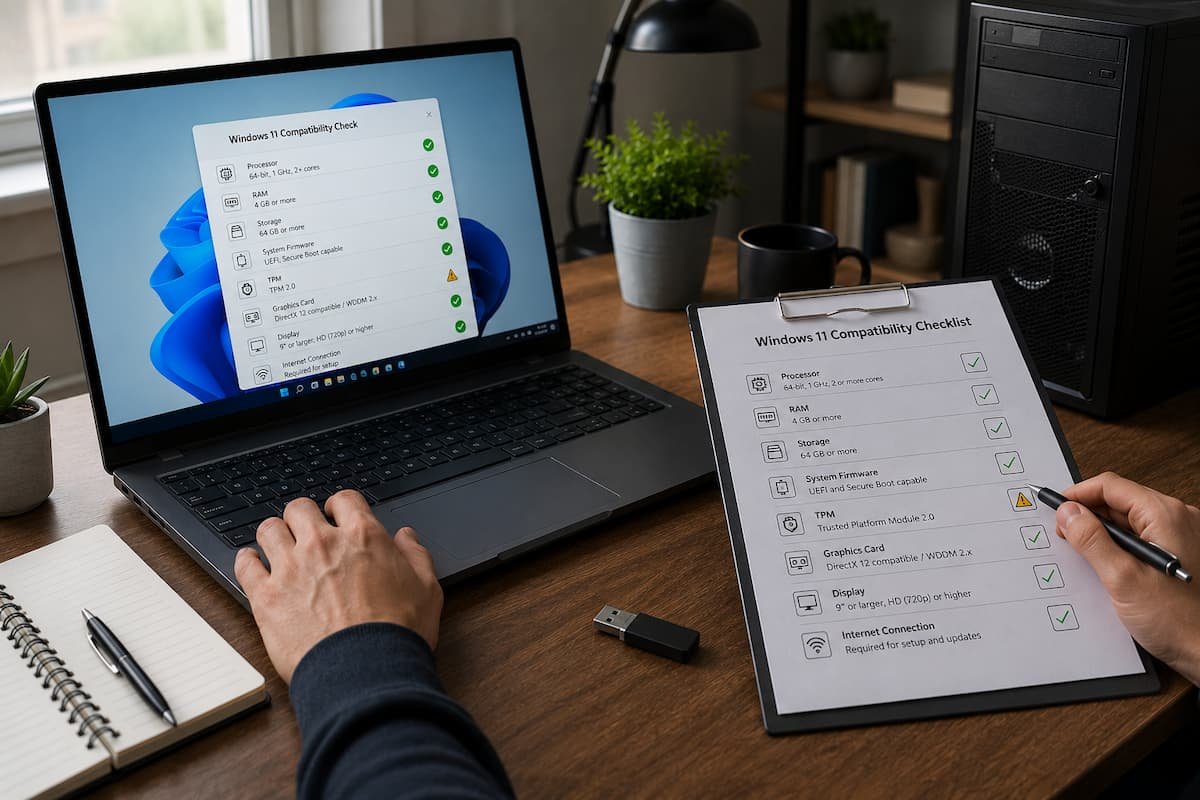
Windows 11 Compatibility Checklist
Use this quick checklist before deciding whether your existing PC is ready for Windows 11:
- Processor: Confirm that your exact CPU model meets Microsoft’s supported requirements.
- RAM: Confirm at least 4 GB of system memory is installed.
- Storage: Confirm at least 64 GB of storage capacity and ensure adequate free space.
- TPM: Check that TPM 2.0 is present and available.
- Secure Boot: Confirm that the system supports the required Secure Boot configuration.
- Firmware: Check whether the computer uses UEFI and whether firmware updates are available.
- Graphics: Confirm compatible DirectX and WDDM support.
- Drivers: Check whether the manufacturer provides appropriate Windows 11 drivers.
- Hardware health: Investigate overheating, storage errors, crashes, and other existing problems first.
- Backup: Create a reliable backup before beginning the upgrade.
- PC Health Check: Run Microsoft’s official compatibility check and review any reported issues.
What If Your PC Fails the Compatibility Check?
A failed compatibility check does not always mean the computer is unusable. First, identify exactly which requirement is preventing compatibility. If TPM or Secure Boot is the problem, check whether the feature is simply disabled in UEFI firmware. If the problem is insufficient RAM or storage, an upgrade may be possible. If the processor is not supported, however, there may be no straightforward hardware upgrade that makes the existing computer officially eligible.
Be cautious about unofficial workarounds that bypass Windows 11 requirements. While technical methods may exist, bypassing Microsoft’s requirements can affect support, update availability, security expectations, and long-term reliability. For a primary computer that you depend on, meeting the official requirements is generally the safer approach.
Conclusion
Most importantly, do not rush into an upgrade just because Windows 11 is available. Check your hardware, ensure your system is functioning properly, back up your files, and make sure your computer is fit for continued use. A thorough compatibility check can prevent unnecessary upgrades and help you make informed decisions about your computer’s future.
FAQs
1. Can my old computer run Windows 11 if it has enough memory?
Not necessarily. Memory is only one of the requirements. The processor, TPM 2.0, Secure Boot, firmware configuration, storage, and graphics performance also affect official compatibility.
2. Why does Windows 11 display an incompatibility message, even though my computer has TPM 2.0?
TPM 2.0 may be present but disabled in your computer’s UEFI firmware. Consult your manufacturer’s documentation before changing firmware settings. Other requirements, such as the list of supported processors or the Secure Boot configuration, can also cause compatibility issues.
3. Can I upgrade my Windows 10 PC to Windows 11 for free?
Microsoft has offered free upgrades for eligible Windows 10 devices, but eligibility terms and licensing may change. Check the latest official upgrade information from Microsoft for Windows 11 before starting the upgrade.
4. Do I need to upgrade my RAM before installing Windows 11?
If your computer has insufficient RAM, you must upgrade it. If you already meet the minimum RAM requirements, adding RAM can improve multitasking performance, but it does not resolve other compatibility issues, such as processor incompatibility.
5. What should I do if my processor is not supported?
First, check your specific processor model and Microsoft’s current official requirements. If your processor is indeed not supported, consider whether it is wiser to continue using your current operating system, replace your computer, or use a supported device.
6. Do I need to enable Secure Boot and TPM security in the BIOS?
These are standard security features on compatible systems, but changing firmware settings without understanding your current boot configuration can cause boot issues. Back up your data and carefully follow the instructions from your computer or motherboard manufacturer.