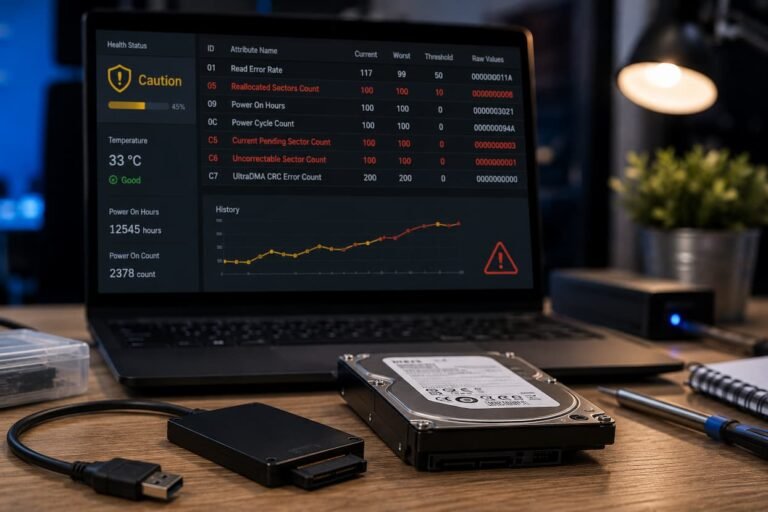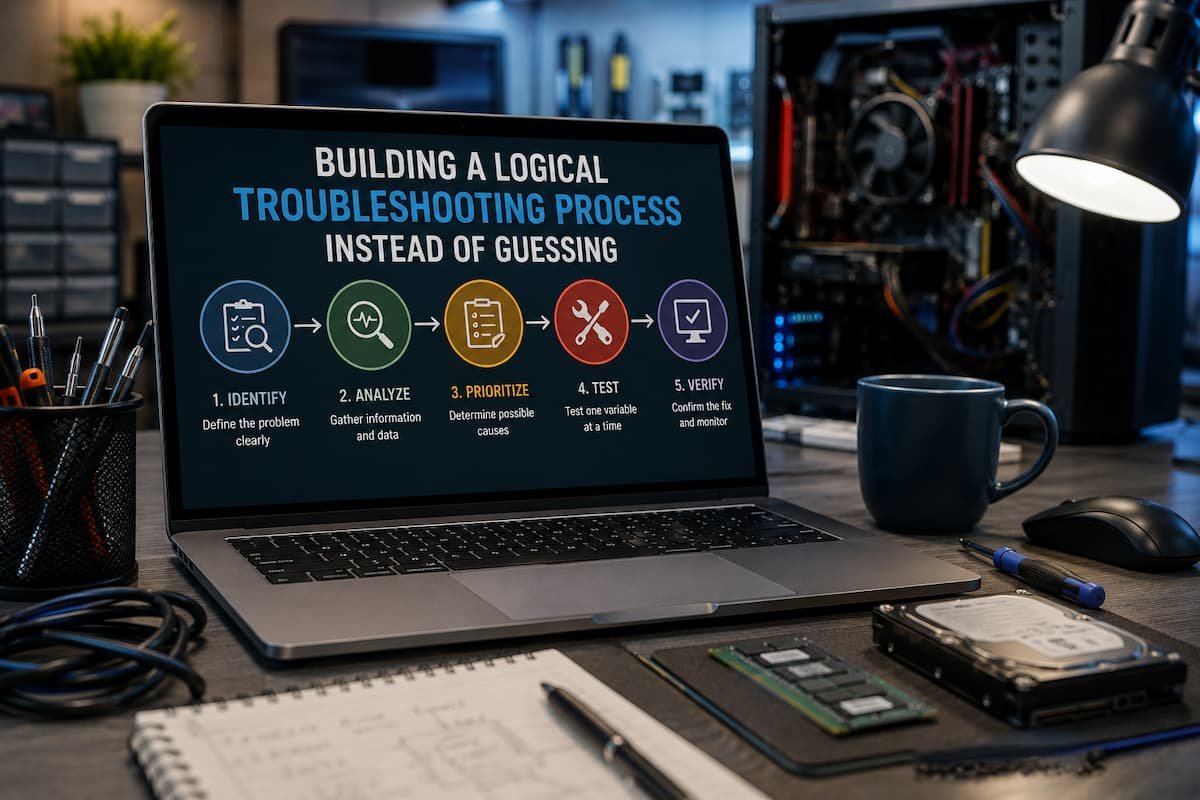
Why Logical Troubleshooting is Better Than Guessing
Although guessing can solve problems quickly, it is unreliable. If your computer is slow, adding more memory might be a waste of money. Background processes, faulty storage devices, overheating, or resource-intensive applications can all cause network slowdowns. Methods for troubleshooting logical errors vary. Every step should help to narrow the scope of the problem. Even if eliminating a specific factor does not completely solve the problem, it is still valuable.
For example, a computer may frequently lose its internet connection. While restarting the router might temporarily resolve the issue, it does not provide conclusive evidence regarding the underlying cause. You will get more useful information by testing other devices on the same network. If all devices lose the connection, the problem likely lies with the router or the network provider. If only one device loses the connection, check that device’s Wi-Fi settings, driver, or network settings. Resolving the problem is not enough; you must also understand why it is happening and ensure the solution is reliable.
Start by Defining the Problem Clearly
The first step in troubleshooting is to describe the problem accurately. A vague statement such as “My computer is broken” is difficult to investigate. A more useful description explains what happens, when it happens, and what is affected.
Ask Specific Questions
- What exactly is not working?
- When did the problem first appear?
- Does it happen every time or only occasionally?
- Does it affect the entire computer or one application?
- What happens immediately before the problem?
- Can the problem be reproduced?
For example, “The computer is slow” could mean many different things. It might take a long time to start, applications might open slowly, websites might load slowly, or the system might freeze during demanding tasks. Each situation points toward different possible causes. Being precise at the beginning prevents you from troubleshooting the wrong problem.
Collect Evidence Before Changing Anything
Once the problem is clearly defined, please gather evidence. Avoid changing settings immediately because you may accidentally remove useful clues or make the original problem harder to reproduce. Look for error messages, warning notifications, unusual sounds, performance changes, or other details that appear when the problem occurs. If possible, take a screenshot or write down the exact wording of an error message.
Useful Evidence to Collect
- Exact error messages
- Date and approximate time of the problem
- Applications running when it occurred
- Recent software or hardware changes
- CPU, memory, and storage usage
- Temperature readings when relevant
- Network connection status
- Whether restarting temporarily fixes the issue
Evidence helps turn a general complaint into a technical problem that we can investigate. It also makes it easier to explain the issue to a technician if professional assistance becomes necessary. If an error message appears, record the exact wording before searching for a solution. Small differences in error messages can point to completely different causes.
Look for Recent Changes
Many computer problems begin after something changes. The cause could be a new application, operating system update, driver, peripheral, hardware component, or configuration setting. Ask yourself what was different when the computer last worked correctly. If a new graphics driver was installed immediately before display problems began, that is useful evidence. If a network connection became unreliable after replacing the router, the router and its configuration should be examined. This does not prove that the recent change caused the problem. Sometimes two events simply happen at the same time. However, recent changes are logical starting points because they provide a clear timeline.
Check Recent Changes, Such As:
- Operating system updates
- New device drivers
- Recently installed applications
- New USB or Bluetooth devices
- Hardware upgrades
- Changes to security software
- Network or router configuration changes
- Changes to system settings
If reversing a recent change restores normal behavior, you have stronger evidence that the change was related to the problem.
Create a List of Possible Causes
Once you understand the symptoms, create a short list of possible causes. Do not immediately choose one explanation and treat it as fact. For example, if a laptop shuts down unexpectedly, possible causes could include overheating, battery problems, power issues, operating system errors, or hardware instability. Each possibility should be considered based on the evidence.
Rank Causes by Probability
Start with causes that are both plausible and easy to test. If the computer is overheating, checking temperatures is simpler than replacing the motherboard. If an application crashes immediately after an update, testing it without the update may be more logical than reinstalling the entire operating system. A useful approach is to divide possible causes into three groups:
- Likely causes: Problems that match the symptoms closely.
- Possible causes: Problems that could explain the symptoms but have less supporting evidence.
- Unlikely causes: Problems that do not match the evidence but should remain in consideration if other tests fail.
This approach prevents you from spending most of your time investigating unlikely explanations.
Test the Simplest Causes First
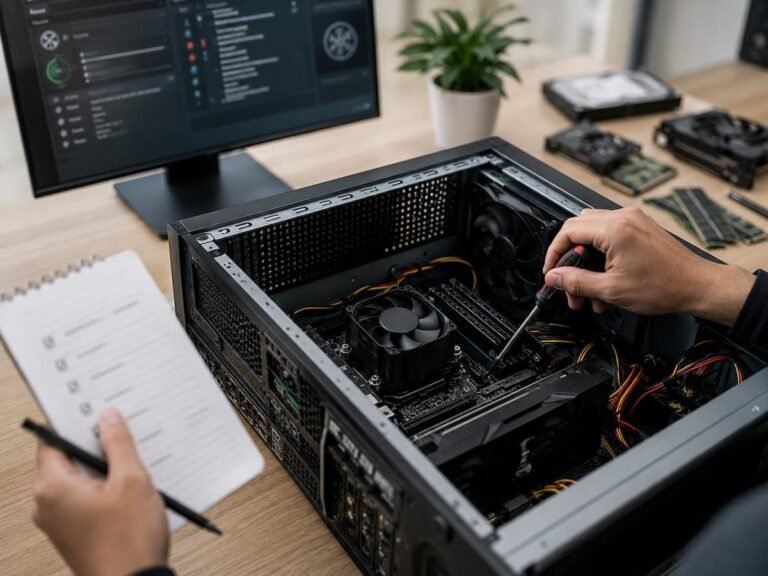
Good troubleshooting often starts with simple checks. This does not mean experienced technicians only perform basic tests. It means they avoid complicated solutions when a straightforward explanation has not yet been ruled out. If a monitor shows no image, check whether the monitor is powered on and whether the cable is connected correctly before replacing the graphics card. If a printer does not work, check its power and connection before reinstalling the operating system.
Simple Checks Worth Performing
- Restart the affected device.
- Check cables and physical connections.
- Confirm that the correct device is selected.
- Check whether another application has the same problem.
- Verify available storage space.
- Check whether the device is recognized by the operating system.
- Confirm that power supplies and chargers are connected correctly.
These checks may seem obvious, but they can eliminate common causes quickly and prevent unnecessary repairs.
Change One Thing at a Time
One of the most important troubleshooting principles is to avoid making several changes simultaneously. If you update a driver, reinstall an application, change system settings, and replace hardware at the same time, you will not know which action affected the problem. Instead, make one controlled change and test the result. For example, if a computer has display problems after a graphics driver update, try reverting or reinstalling the driver first. Test the computer. If the issue continues, move to the next possible cause. This approach takes discipline, but it creates a clear relationship between actions and results.
Best Practice: Change one variable, test the result, record what happened, and only then move to the next step.
Use Isolation to Narrow Down the Cause
Isolation is one of the most powerful troubleshooting techniques. The basic idea is to separate the affected component or process from everything else and see whether the problem remains. Suppose a computer freezes when using a particular application. Try another application that performs a similar task. If only the original application freezes, the software becomes more suspicious. Similarly, if Wi-Fi is unreliable, test the same network with another device. If the second device works normally, investigate the original computer rather than immediately replacing the router.
Examples of Isolation Testing
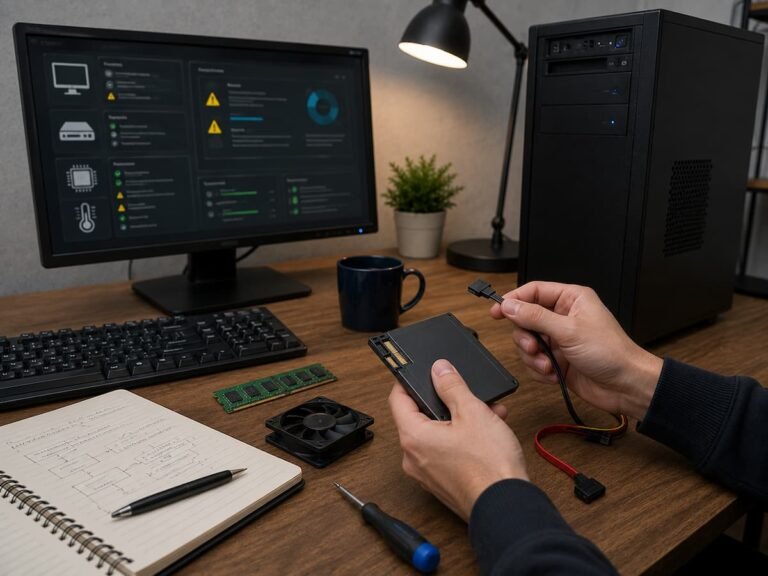
- Use another cable to check if the cable is faulty.
- Try another USB port to rule out a port issue.
- Test another device on the same network.
- Run the application without optional extensions or plugins.
- Use Safe Mode to reduce software variables.
- Connect the computer to another display.
- Test a different power outlet when appropriate.
Each test should answer a specific question. Avoid performing tests simply because they are available.
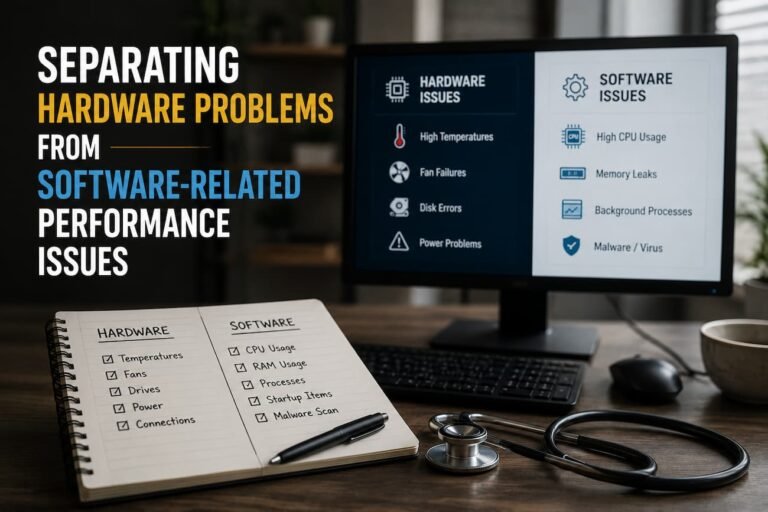
Separate Hardware From Software Problems
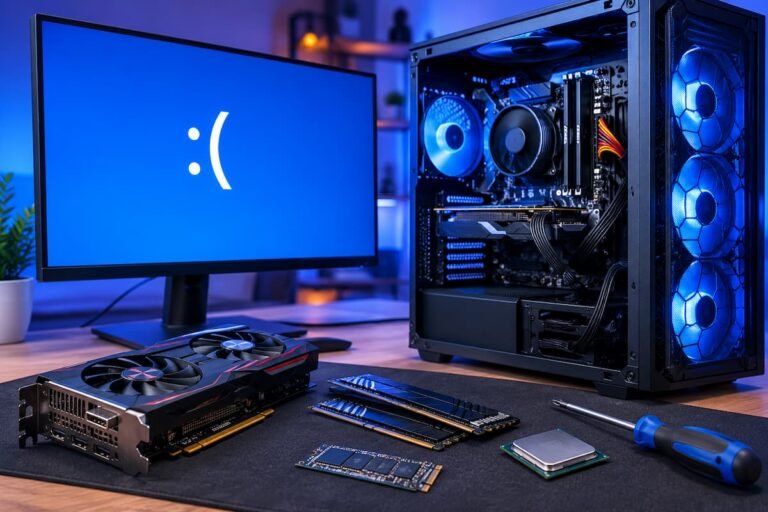
Hardware and software problems can produce similar symptoms, so it is important to consider both. A computer that freezes may have defective memory, but it could also have a faulty driver or application. Look for patterns. If the problem appears only inside one application, software is more likely. If the computer crashes across multiple applications and operating environments, hardware becomes more suspicious.
- Hardware symptoms may include unusual noises, overheating, visible damage, repeated diagnostic errors, or problems that remain after software changes.
- Software symptoms may include problems that began after an update, errors limited to one application, excessive resource usage by a particular process, or behavior that disappears in Safe Mode.
These are clues rather than guarantees. Some problems require testing both sides before you can reach a conclusion.
Document What You Try
Keeping notes may seem unnecessary for a small problem, but documentation becomes extremely useful when troubleshooting takes several hours or days. Write down the original symptoms, the tests performed, and the results. Record any changes you make and whether they helped.
A Simple Troubleshooting Log
| Step | Action | Result | Next Decision |
|---|---|---|---|
| 1 | Restarted computer | The problem returned after 20 minutes | Investigate background processes |
| 2 | Checked resource usage | One application using high CPU | Test application |
| 3 | Closed application | The system returned to normal | Update or repair the application. |
This record prevents you from repeating the same failed tests. It also creates a useful history if you eventually need professional technical support.
Confirm That the Solution Really Worked
Finding a temporary improvement is not the same as finding a solution. After making a change, test the computer under the same conditions that originally caused the problem. If an application crashed during a particular task, perform that task again. If the computer overheated during heavy use, monitor it during another demanding session. If a network connection dropped repeatedly, observe it for a reasonable period instead of assuming the first successful connection means the problem is permanently fixed.
Ask These Questions
- Has the original symptom disappeared?
- Can I reproduce the original problem?
- Did the solution create any new problems?
- Has the system remained stable over time?
- Do I understand what caused the issue?
Confirmation is especially important after major changes. A computer that works for five minutes after a restart is not necessarily fixed.
Common Troubleshooting Mistakes
Even a logical process can fail if you ignore common mistakes. One frequent mistake is changing too many things at once. This makes it impossible to identify the successful fix. Another mistake is relying too heavily on internet search results. Online advice can be useful, but a solution that works for one computer may not apply to another. Always compare recommendations with your exact hardware, operating system, and symptoms. Replacing hardware without testing it is another expensive mistake. A new component may hide the original issue temporarily without solving it.
Avoid These Habits
- Do not assume the most expensive component is faulty.
- Please avoid reinstalling the operating system as the first response to every problem.
- Do not ignore error messages.
- Do not make several unrelated changes simultaneously.
- Do not skip backups before major troubleshooting.
- Do not assume that a temporary improvement is a permanent solution.
- Do not ignore physical warning signs such as overheating or unusual noises.
Effective troubleshooting is about reducing uncertainty. Every action should make the situation clearer.
A Practical Troubleshooting Workflow
You can turn the principles in this guide into a repeatable process. The exact tools will vary depending on the problem, but the general workflow remains useful.
Step 1: Describe the Problem
Write down exactly what is happening. Avoid vague descriptions and identify the affected device, application, or function.
Step 2: Establish a Timeline
Determine when the problem started and whether anything changed around that time.
Step 3: Gather Evidence
Record error messages, resource usage, temperatures, and other relevant information.
Step 4: List Possible Causes
Consider software, hardware, configuration, environmental, and user-related causes where appropriate.
Step 5: Start With Simple Tests
Check power, cables, connections, settings, and other easy possibilities before moving to complex repairs.
Step 6: Test One Variable
Make one controlled change and observe the result.
Step 7: Isolate the Problem
Use another device, application, cable, port, or environment to narrow down the source.
Step 8: Confirm the Fix
Repeat the original task and monitor the system long enough to determine whether the problem has genuinely disappeared.
Step 9: Document the Solution
Document what caused the problem and how you resolved it. This information can save significant time if the issue returns.
Conclusion
A systematic approach to troubleshooting replaces guesswork with solid evidence. Before you upgrade hardware or reinstall software, you must identify the problem. Gather data, investigate recent changes, check multiple possibilities, and test the simplest solution first. A systematic approach to troubleshooting works best. Change one thing at a time, isolate the component, record the results, and verify that the solution works under the same conditions as the original problem.
Although this approach takes longer than random solutions, it generally yields better results. It saves money, minimizes unnecessary improvements, and reduces the underlying causes of problems. Most importantly, it helps you understand your computer, rather than dealing with malfunctions reactively. If you experience slow performance, application crashes, network issues, or unstable hardware, describe the problem, gather data, run logical tests, and verify the results. By viewing troubleshooting as a process rather than a game of chance, even complex computer problems become easier to solve.
FAQs
1. What is the most important rule for troubleshooting?
The most important rule is not to guess when there is evidence. First, define the problem and then run logical tests to find the cause. All tests must be able to answer or rule out a problem. This method prevents unnecessary adjustments and simplifies the identification of the problem’s cause. Even if the test results do not completely solve the problem, they are still useful if they rule out one possibility.
2. Why change only one component at a time?
Changing only one component at a time helps in understanding cause and effect. Updating drivers, reinstalling software, and replacing hardware can solve the problem without identifying the cause. Because the root cause is never found, the problem may recur. Controlled adjustments help with smoother troubleshooting and prevent the problem from occurring again.
3. Should I always start with the simplest options when troubleshooting?
Generally speaking, yes. Quick checks can rule out several common causes. Checking cables, power supplies, connections, storage, and basic settings takes less time than repairing components or reinstalling the operating system. Starting with simple options does not mean overlooking complex problems. Rule out simple possible causes before spending time and money looking for more complex explanations.
4. What if I cannot reproduce the problem?
Note when the problem occurred and what the computer was doing. Intermittent anomalies are difficult to diagnose due to the lack of standardized test conditions. Record errors, temperatures, resource usage, and changes, and try to identify any patterns. The more information you have, the easier it is to pinpoint the cause of the problem.
5. When is it time to stop self-diagnosing?
If you experience data loss, electrical damage, or recurring hardware failures, or if you require specialized equipment for repair, consider calling in professional help. If you have already followed a logical approach to troubleshooting but still cannot find the cause, seek help. Before handing your computer over to a technician, ensure you back up important files and include your troubleshooting notes. This will speed up the professional diagnosis.
6. Are online troubleshooting manuals reliable?
Online manuals can offer help, but they do not guarantee a solution. Hardware, operating systems, drivers, and configurations vary. It is advisable to prioritize official documentation and reliable technical sources and ensure that the instructions are tailored to your specific situation. Before implementing the proposed changes, you should fully understand the consequences, especially when modifying system settings or deleting files.
References
- Microsoft Support — Official Windows troubleshooting, Safe Mode, Task Manager, device management, and system recovery documentation.
- Apple Support — Official macOS troubleshooting, Activity Monitor, Safe Mode, and hardware diagnostic resources.
- Microsoft Learn — Official technical documentation for Windows performance monitoring and system diagnostics.
- Intel Support — Official processor, hardware troubleshooting, and diagnostic resources.
- IBM — Technical resources covering problem-solving and structured troubleshooting concepts.